how to install a premium wordpress theme
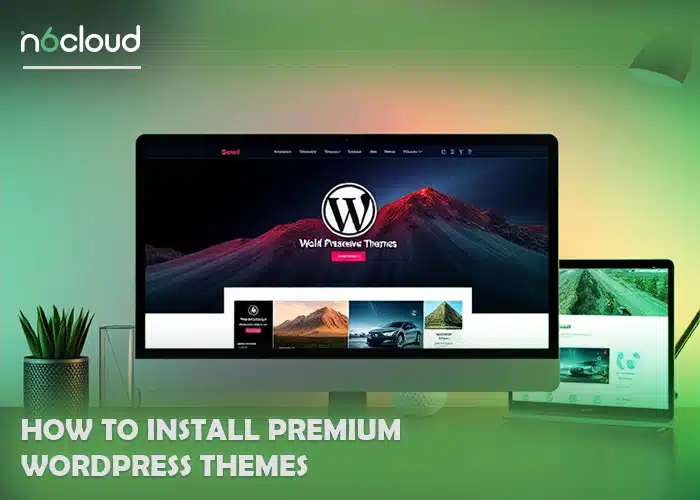
Table of Contents
Premium WordPress themes equip websites with enhanced features, better designs, and superior functionality, setting them apart from free options. However, for newcomers, the process of installing these themes can feel a little intimidating. This article is here to guide you through the journey—from choosing dependable theme sources to resolving potential installation challenges.
Where to Find Reliable Premium WordPress Themes
Here are some reliable sources for choosing the right premium WordPress themes:
- Official WordPress Theme Directory: A secure starting point, offering links to premium versions of trusted themes.
- Theme Marketplaces: Websites like ThemeForest, TemplateMonster, and Mojo Marketplace provide access to thousands of crafted designs.
- Independent Developers: Many developers, such as StudioPress, Elegant Themes (known for Divi), and Astra, sell themes directly through their platforms.
- Hosting Providers: Certain hosting companies include premium themes in their packages, making them a convenient choice for users.
When selecting a theme, prioritize options with the features you need, and confirm the developer offers consistent updates and support to ensure compatibility and security.
Related: Affordable and Secure WordPress Hosting in Canada

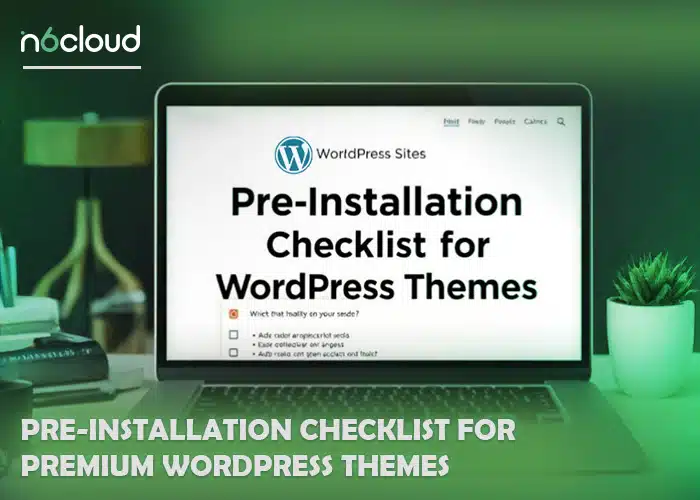
Pre-Installation Checklist for Premium WordPress Themes
Before installing a theme, you have to ensure that your website is ready to handle it:
- Backup Your Website
Always create a full backup of your site. Use reliable tools like UpdraftPlus or the backup options offered by your hosting provider. This precaution allows you to restore your site in case anything unexpected occurs. - Verify Hosting Compatibility
Premium themes often come with specific hosting requirements. Confirm that your hosting plan supports the following:
- PHP version 7.4 or higher.
- MySQL version 5.6 or newer.
- Adequate server resources for handling large files.
Related: How to Choose a WordPress Theme?
For added ease, consider hosting providers like N6 Cloud optimized for WordPress, as they simplify the process of installing and running premium themes.
- Deactivate Unnecessary Plugins
Inactive or incompatible plugins can interfere with the installation process. Disable any plugins you don’t currently need to avoid potential conflicts. - Prepare Your Theme File
Most premium themes are downloaded as a .zip file. Make sure the file is stored and readily available for upload before starting the installation.
Step-by-Step Guide to Installing Premium WordPress Themes
To get started, check your site and follow these methods in order to install your premium theme:
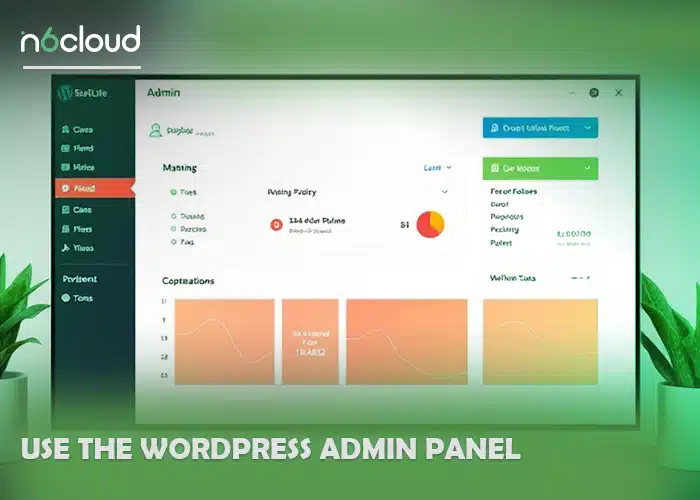
1. Use the WordPress Admin Panel
That is the most popular, and also the simplest way for installing a theme, coming right from the admin dashboard of a WordPress blog:
- Access the WordPress admin area: Open the web browser, visit the admin login page of your Dear website (that is normally yourwebsite.com/wp-admin), and provide your username and password in order to be on the dashboard.
- Go to theme section: On the left side of the page, locate and point at the appearance section and click on the Themes menu. This will take you to the themes section where you are able to control all of the themes associated with your site.
- Hit “Add New” button: At the upper side of the page, click on the Add New button to view the list of available themes. Then, click on the Upload Theme button at the top to open the theme upload dialogue.
- Select the option of Upload Theme: Click on the “Upload Theme” button which is for uploading your premium theme file from your computer.
- Locate a .zip file of your premium theme: Get the Theme’s “.zip” installation file. Click on Choose File to open the file selection window on your computer. Select the theme’s ZIP file, then click on Upload to start uploading the theme. Once uploaded, it will be installed automatically.
- Start or switch to your theme: After finishing the above process, click on the Activate button and the theme shall be set to your WordPress site.
Related: Best WordPress Review Plugin
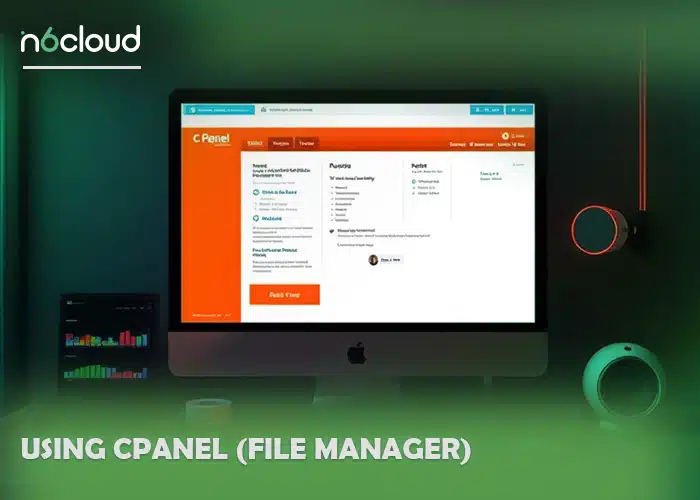
2. Using cPanel (File Manager)
In case you have access to the cPanel, installing your theme through the File Manager is easy and software-free:
- Log in to cPanel: Use the username and password provided by your hosting company to access the cPanel of your hosting account.
- Access File Manager: Access your server files by opening the File Manager.
- Access the Themes Folder: Access the folder which contains your WordPress website (mainly under public_html) and then navigate to the wp-content/themes folder.
- Upload the Theme: Add the folder containing your preferred theme (uncompressed) to the folder containing the themes.
- Activate the Theme: Now, go to your WordPress admin page. Then, to Appearance -> Themes, where you will find the theme that you have just added. Press the Activate button.
3. Install via FTP (File Transfer Protocol)
If your hosting company has a limit on the file size which you can upload, FTP is another option to transfer your theme:
- Configuring an FTP application: Download and install an FTP client like FileZilla, which allows you to transfer files from your local computer to your website server.
- Link up your server: Start your FTP client and key in the FTP information provided by your host provider. This normally contains the host address, username and password. With the details entered, click Quickconnect to connect to your server.
- Locate the Themes folder: After logging into the server, in the directory on the right hand side of the FTP client, locate the wp-content/themes folder. This is the location you will upload the theme files.
- Transfer the theme folder: On the local file system on the left side of the FTP client, find the extracted theme folder. Simply drag and copy this folder to the themes section on your server. Make sure that you upload the folder which has just been extracted and not the zipped one.
- Activate Your Theme: After the folder is uploaded, return to the WordPress admin interface. Go to the Appearance > Themes section and there you will see the theme that you just uploaded. Click Activate in order for it to go live in your site.
Common Issues During Installation and How to Solve Them
Within the process, you might encounter issues during installing themes. Here’s how to handle them:
- Error: “The link you followed has expired.”
Reason: This typically arises from server-imposed file size limits.
Solution: Adjust the upload size limit in your hosting control panel, or alternatively, use an FTP client to upload the theme manually. - Error: “Stylesheet is Missing.”
Reason: This happens when the uploaded folder doesn’t contain the required style.css file.
Solution: Double-check that you’ve uploaded the correct folder. Many theme downloads include extras like documentation or design files—ensure only the theme folder is uploaded. - Conflicts with Plugins
Reason: Certain plugins may not integrate properly with the theme.
Solution: In order to know exactly which plugin misbehaves, turn off all the plugins, then one by one, turn them on. - Deadly White Screen
Reason: This blank screen can occur due to various reasons, including reaching the memory limit or PHP errors.
Solution: Enable debugging by changing the WP_DEBUG value from false to true in the wp-config.php file to display error messages. Additionally, check error logs and increase the memory limit if necessary.
Can I Use The Same Premium WordPress Theme for More than One Website?
The answer is yes and no, as it depends on the license. A single-site license allows use on one website only, while a multi-site or developer one allows use on more than one site. So check the theme license before buying it.
How To update A Premium WordPress Theme Keeping The Customizations Done Previously?
A child theme can be used for this purpose. First, take a backup of your site and put the upgrades in a staging environment to test. Only roll out after verification on your main site.