Starting an online store is one of the most exciting steps for any entrepreneur or small business owner. WooCommerce has become the most popular eCommerce platform in the world because it gives you complete freedom, full ownership, and unlimited customization. Whether you want to sell physical products, digital downloads, services, memberships, or even subscription boxes, WooCommerce can handle it. Best of all, you build everything on top of WordPress, which means you get a powerful content management system and blogging platform in the same place.
The challenge for many beginners is that setting up WooCommerce properly can feel overwhelming. There are decisions to make at every stage, including choosing a hosting provider, configuring your store, adding products, setting up payments, and launching your checkout. This guide is designed to remove the guesswork. It walks you through the entire process, step by step, from registering your domain to launching a fully functional WooCommerce store ready to accept real orders.
Performance is a critical part of any online store. WooCommerce is more resource-intensive than a standard WordPress site because it handles cart sessions, product filtering, stock management, payment processing, and database queries on nearly every page. Your hosting environment directly affects how fast your store loads and how reliable it is during traffic spikes. Choosing a hosting platform that is optimized for WooCommerce is one of the most important decisions you will make. N6Cloud WooCommerce Hosting is built on technologies such as LiteSpeed, Redis caching, and optimized PHP configurations, helping WooCommerce run smoothly as your store grows.
By the end of this guide, you will have a complete online store with products, payments, shipping, taxes, and an optimized design. You will also understand how to manage orders, improve your store’s performance, and prepare for long-term success. Whether you are launching your first eCommerce business or migrating from another platform, this guide will help you build a store that is fast, secure, scalable, and ready for customers.
Phase 1: Foundation – Hosting, Domain, and WordPress Setup
Before you begin designing your store or adding products, you need a reliable foundation that supports WooCommerce. An online store performs many tasks in the background, such as processing cart sessions, running product queries, handling payment gateways, and tracking inventory in real time. These actions require more server resources than a simple blog or portfolio website. That is why choosing the right hosting environment is one of the most important decisions you make early in the process.
Choosing the Right Hosting for WooCommerce
WooCommerce performs best on WordPress-optimized hosting. N6Cloud Managed WordPress Hosting is a strong fit because it includes LiteSpeed servers, Redis object cache support, optimized PHP configurations, a staging environment, and free SSL. These features directly improve store speed, checkout responsiveness, and overall stability as the shop grows.
Some beginners consider starting on shared hosting. WooCommerce can run on shared hosting, and if you want to understand what a basic plan looks like, you can review our shared hosting plans.
However, if your goal is to build a store that loads quickly and remains responsive as you add more products, Managed WordPress Hosting is a more suitable choice. You can explore plans designed specifically for WordPress and WooCommerce on our website.
N6Cloud hosting plans also include free migration, free email accounts, free SSL, and self-service backup and recovery, helping store owners manage their setup with confidence.
Securing Your Domain Name
Your domain name is the identity of your store. If you do not already have one, you can register it through your preferred domain registrar. Once registered, point the domain to N6Cloud by updating the nameservers in your domain’s dashboard. This step ensures your domain correctly routes visitors to your new WooCommerce store.
DNS propagation may take anywhere from a few minutes to several hours, which is completely normal.
Installing WordPress
Once your domain and hosting are ready, you can install WordPress using the one-click installer in the hosting control panel. During installation, you will create your own username and password. Choose a strong password and avoid generic usernames.
After installation, you can access your WordPress admin dashboard by visiting yourdomain.com/wp-admin. This is where you will control your design, plugins, products, orders, and everything else related to your store.
Installing WooCommerce
To add WooCommerce, go to the WordPress dashboard, open the Plugins page, and search for WooCommerce. Install and activate it. You may also upload the WooCommerce ZIP package manually if you prefer.
Once activated, WooCommerce launches its Setup Wizard, which guides you through the initial store configuration steps, such as location, currency, and store type.
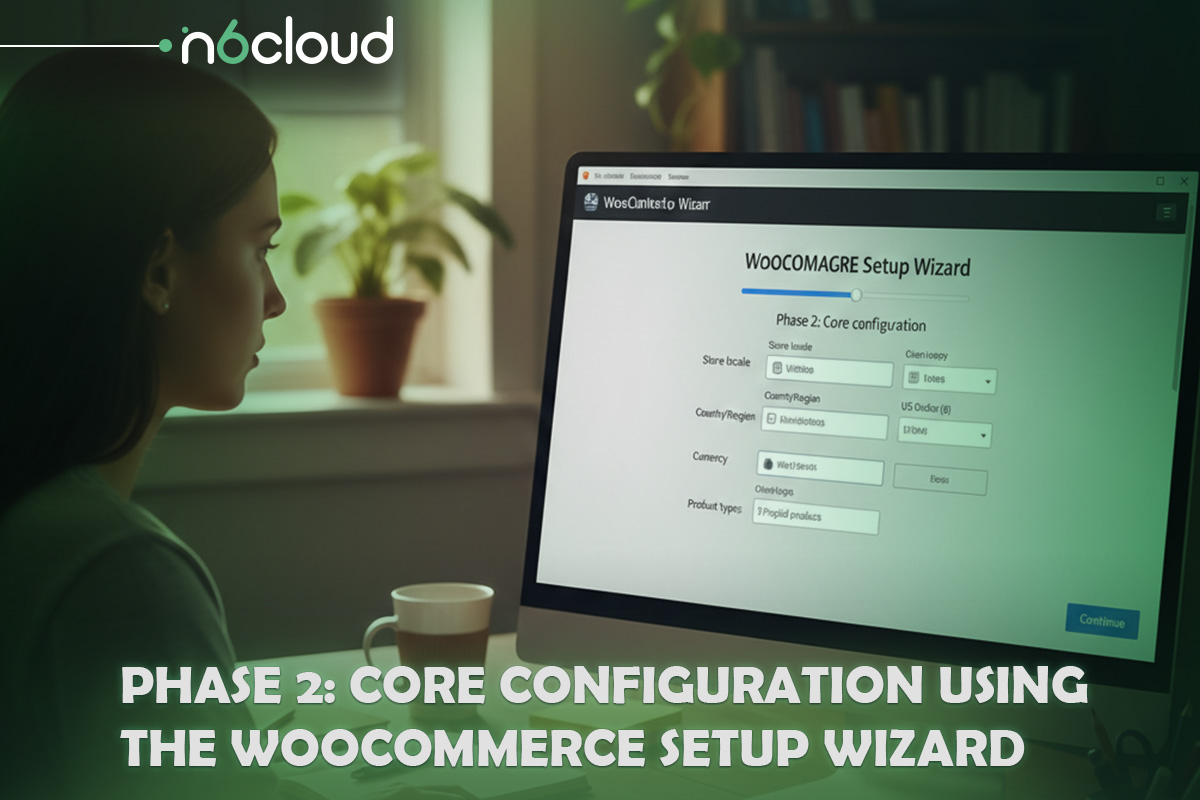
Phase 2: Core Configuration Using the WooCommerce Setup Wizard
Once WooCommerce is installed, WordPress will automatically guide you through the WooCommerce Setup Wizard. This is one of the most essential steps in building your store because it lays the foundation for everything that follows. The wizard collects the necessary information about your business, configures your store location, currency, and product types, and helps you enable basic features without having to manually search through dozens of settings.
The Setup Wizard ensures that your new store starts with tested defaults rather than an empty or incorrectly configured environment. It is designed for beginners but is still efficient enough for experienced users who want to get store essentials in place quickly. Instead of digging through complex menus, the wizard walks you through each core step one screen at a time.
Navigating the WooCommerce Setup Wizard
The wizard begins by asking for your store details, including location, legal business address, preferred currency, and the type of products you plan to sell. These details matter because they determine how WooCommerce handles taxes, available payment options, shipping rules, and product behaviours.
You will be guided through several screens:
Store Location
Enter the address of your business. Even if you operate from home or run a digital-only store, WooCommerce needs this for tax and currency calculations.
Industry and Product Type
WooCommerce asks what industry your store belongs to, such as fashion, electronics, wellness, education, or digital products. You can select multiple categories. Then you will choose the type of products you plan to sell. WooCommerce supports both physical and digital items, and the wizard will adjust the store settings based on your selection.
Business Features
The wizard may offer optional features such as automated tax calculations, product recommendations, payment extensions, or marketing tools. These are optional and can be added later. Beginners can focus on the essentials first before exploring more advanced extensions.
When the Setup Wizard finishes, your baseline store configuration will be ready. WooCommerce will automatically create key pages such as Shop, Cart, Checkout, and My Account. These pages form the backbone of your store’s shopping experience, and you can customize them later with themes or page builders.
Selecting and Customizing Your Store Theme
After completing the Setup Wizard, WooCommerce will encourage you to choose a theme for your store. Your theme controls the entire visual presentation of your site, including the homepage, product listings, checkout design, typography, colours, and layout. This is an important choice because a WooCommerce store has different needs than a regular blog or portfolio website.
Several WooCommerce-optimized themes are known for strong performance and clean design:
- Storefront
- Astra
- Blocksy
- GeneratePress
These themes work well with WooCommerce and offer broad compatibility with popular builders such as Elementor and Gutenberg. They also come with ready-made layouts and templates for product pages, catalogues, and shopping carts, which makes the setup much easier for beginners.
Customizing Your Store with Elementor
Most beginners find it easier to design their WooCommerce store using a visual builder rather than manually editing templates. Elementor is one of the most popular choices because it lets you design your website with an intuitive drag-and-drop interface. Instead of dealing with code, you simply drag widgets such as images, titles, buttons, product grids, or hero banners into place.
Elementor also provides pre-designed templates that allow you to launch a professional-looking homepage instantly. You can then adjust the text, colours, and images to match your brand. For WooCommerce stores, Elementor offers product-focused widgets that display featured items, categories, sale labels, and dynamic content.
Branding Elements
Once your theme is installed, you should customize your store’s branding. This includes uploading your logo, choosing a colour palette that aligns with your brand identity, and selecting fonts that convey clarity and consistency. These small details help your store feel trustworthy and polished from the moment customers visit your website.
You can also customize your product archive and detail pages, as well as your navigation menus, using the theme settings or your page builder. Improving these pages early helps establish a strong visual foundation before you add products or configure payments.
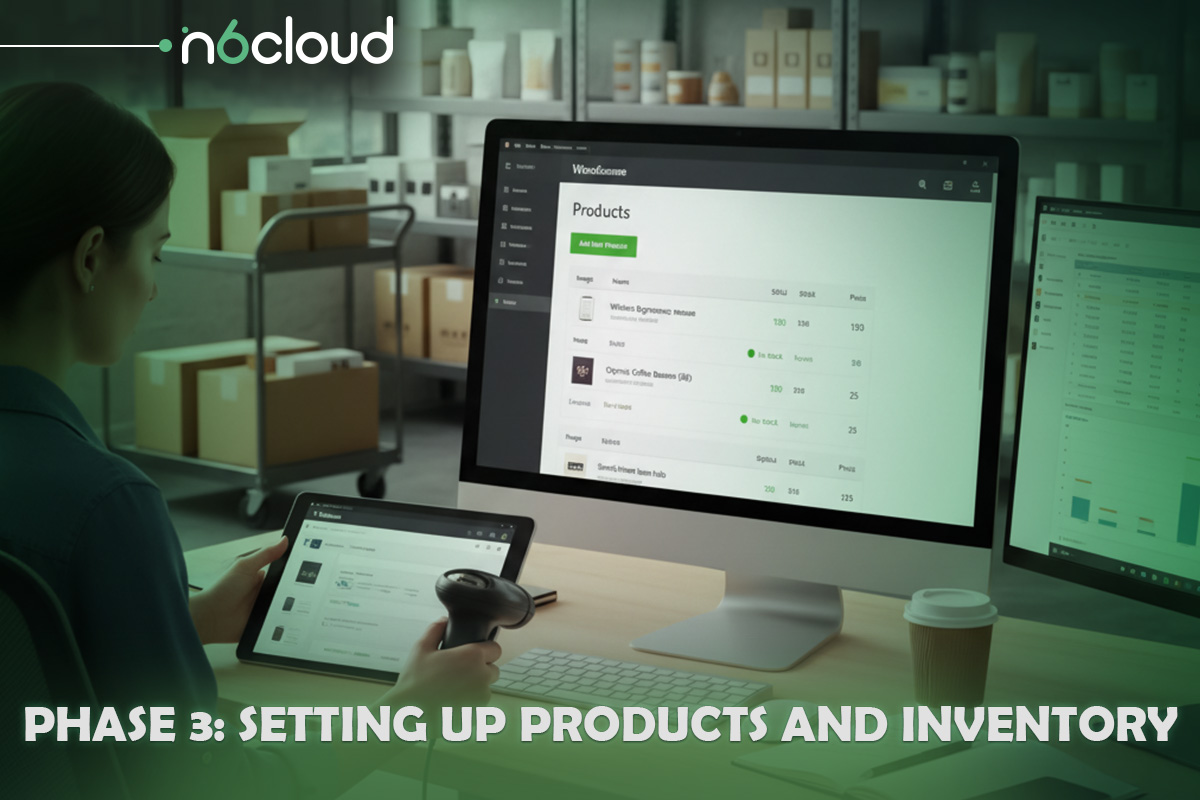
Phase 3: Setting Up Products and Inventory
With your store structure in place and your theme customized, it is time to add the core of your business: your products. WooCommerce has one of the most flexible product systems available on any eCommerce platform. Whether you sell physical goods, digital downloads, services, custom variations, memberships, or external affiliate items, WooCommerce can support them.
This section will guide you through adding your first product, understanding the different product types, and configuring inventory management so your store runs smoothly from the moment it goes live.
Adding Your First Product
To create your first product, go to the WordPress dashboard and open the Products menu. Select Add New. This will take you to the product editor, where you will enter the information your customers need to understand what you are selling.
Start with a clear and specific product title. Beneath it, you will see two text areas. The larger one is for your full description. This is where you can explain the product’s features, benefits, materials, specifications, usage instructions, or any extra details that help customers make a confident purchase decision. The shorter description, located further down on the page, appears next to the product image on the product detail page. This brief description is a quick summary or highlight of the key selling points.
Images are one of the most important elements of any product page. WooCommerce lets you upload a main product image and multiple gallery images. Choose high-quality, well-lit photos that clearly showcase your product. If you do not have professional images, clean and straightforward photos with consistent backgrounds can still look great.
At this stage, many store owners benefit from using AI tools to help craft strong descriptions. These tools can rewrite, refine, or expand your content by focusing on benefits, features, and SEO keywords. They do not replace human input but can significantly speed up the writing process.
Understanding Product Types
WooCommerce supports several product types. Understanding these options will help you correctly structure your catalogue. The most common types include:
Simple Product
This is the easiest type and is used for items sold in a single format with no variations. Examples include a paperback book, a digital file, or a single-size accessory. You set the price, add a description, upload images, and choose the inventory settings.
Variable Product
Variable products are more flexible, allowing you to offer different versions of the same item. For example, you may sell a T-shirt in various sizes or colours. To create a variable product, you first define attributes like colour or size, then generate variations for each combination. Each variation can have its own price, stock quantity, image, and SKU.
Grouped Product
A grouped product is a collection of simple products sold together or offered as a bundle. For example, a photography lighting kit containing multiple standalone items can be grouped into one larger product page.
Virtual and Downloadable Product
If you sell online courses, membership access, downloadable PDFs, design templates, or software, you can mark your product as Virtual or Downloadable. Virtual products do not require shipping. Downloadable products allow you to attach files that customers can access after purchase.
External or Affiliate Product
If you promote products from another retailer, such as Amazon or a partner brand, you can create external product listings for those products. Customers click a button that takes them to the external store where they complete the purchase. This is ideal for affiliate marketers or curated product listings.
Each product type has unique settings, but WooCommerce maintains a consistent structure so you are not overwhelmed by too many options at once. As your store grows, you will naturally start using more advanced product features.
Inventory and Stock Management
Inventory management is one of the most essential parts of running an online store. WooCommerce includes built-in tools to help you track product quantities and avoid overselling.
In the product editor, you will find an Inventory tab where you can assign an SKU, a unique identifier used to track and organize your products. SKUs are especially helpful when you manage many products or variations.
WooCommerce lets you enable stock management, which automatically tracks the number of available items. You can define the stock quantity and set low-stock and out-of-stock thresholds that alert you when it is time to restock. You can also choose whether to allow backorders so customers can purchase items that are temporarily unavailable.
If you are offering variable products, each variation has its own inventory settings. This helps you track different sizes or colours separately, preventing confusion and ensuring more accurate stock control.
For downloadable or virtual products, WooCommerce automatically disables shipping and inventory options since these products do not require physical delivery or stock management.
Phase 4: Financial and Logistical Configuration
Once your products are ready, the next step is to set up the financial and logistical structure of your store. This includes configuring payment gateways, shipping rules, and sales tax. These steps are crucial because they determine how customers pay for their orders, how products are delivered, and how your store complies with regional tax regulations. WooCommerce includes built-in tools for each of these tasks, and the setup process is straightforward once you understand the options.
Configuring Payment Gateways
Your payment gateway is responsible for securely processing customer payments. WooCommerce supports a wide range of payment providers, including those commonly used by online stores worldwide. When you first install WooCommerce, the Setup Wizard may ask you to enable WooPayments, Stripe, or PayPal. You can adjust or add more payment methods later by going to WooCommerce settings and selecting the Payments tab.
WooPayments is explicitly designed for WooCommerce and integrates well with WordPress. It supports credit card payments and local payment methods, depending on your region. Stripe is another popular gateway that supports major credit cards and digital wallets. PayPal is widely recognized and trusted by customers, making it a good option to offer alongside other gateways.
The process is usually straightforward. After enabling your preferred method, you will connect your account through a setup link. Once connected, WooCommerce handles communication between your store and the payment processor. No sensitive card data is stored on your site. All payment information is handled by the gateway provider, which ensures a secure transaction with industry-standard encryption.
Most stores should offer at least two payment methods to give customers flexibility. You can add more gateways later if your business expands into new regions or introduces recurring subscriptions, in-person payments, or bank transfers.
Setting Up Shipping Methods
Shipping settings determine how you will deliver physical products to your customers. WooCommerce uses a simple structure based on shipping zones, shipping methods, and shipping classes.
A shipping zone is a geographical region where your store ships. For example, you may create a zone for your home country, another for neighbouring countries, and another for international shipping. Inside each zone, you can assign different shipping methods such as flat rate shipping, free shipping, or local pickup. A flat rate is a fixed cost that customers pay regardless of weight or quantity. A minimum order amount or a coupon code can trigger free shipping.
If you sell products of varying sizes or weights, WooCommerce allows you to create shipping classes. These classes let you assign different costs to different product types. For example, heavier items may cost more to ship. Once configured, WooCommerce will calculate the appropriate shipping cost based on your rules.
Some regions support label-printing tools that integrate directly with WooCommerce. These tools allow you to print shipping labels from your dashboard, track shipments, and automatically mark orders as shipped. This can save time, especially if you handle a high volume of orders.
Handling Sales Tax
Sales tax can be one of the more confusing aspects of running an online store, especially if you sell to multiple regions. WooCommerce provides tools to simplify the process. Before enabling taxes, you must turn on tax calculations in the WooCommerce settings under the General tab.
Once taxes are enabled, you can manually configure tax rates in the Tax settings section. WooCommerce supports standard, reduced, and zero tax rates. You can add rates based on country, state, postal code, or city. For example, some regions require different tax rules based on product type, customer location, or the seller’s location.
If you prefer a more straightforward approach, automated tax solutions can calculate taxes for you based on your store’s location and the customer’s address. These services integrate with WooCommerce and automatically adjust rates. This is especially helpful if you sell internationally or if you offer digital products, which often have different tax regulations.
It is essential to review your local tax laws to ensure compliance. Digital downloads, virtual services, and certain types of physical goods may be tax exempt, depending on the country or region.
Phase 5: Optimization and Launch
When your products, payments, and shipping settings are ready, it is time to focus on the final steps to make your WooCommerce store efficient, secure, and customer-ready. These tasks help you operate your store smoothly, manage orders without confusion, and ensure your site performs well when real buyers start visiting. This phase also prepares your website for a successful launch with testing, optimization, and essential quality checks.
Managing Orders, Customers, and Reporting
WooCommerce includes a comprehensive order management system that handles everything from new purchases to refunds. When a customer places an order, you can find it under WooCommerce in the Orders section. Each order includes the customer’s information, billing details, shipping method, payment status, and purchased items. The system uses clear statuses such as pending payment, processing, completed, cancelled, and refunded. Updating an order status is as simple as selecting a new option from a dropdown menu.
You can also manage your customers from the WooCommerce customer list. Here you can view order history, total spending, and customer details. This helps you understand your audience better and identify loyal buyers. If you want to export customer lists for email marketing, WooCommerce provides export tools, or you can use extensions to connect with email platforms.
WooCommerce reports give you an overview of sales, revenue, product performance, and customer behaviour. These insights help you understand what products sell most, which categories perform best, and how your sales are trending over time. You can also install additional analytics tools to get deeper insights.
Coupon codes are another valuable tool for promotions. You can create percentage discounts, fixed cart discounts, or product-specific discounts. WooCommerce allows you to set usage limits, expiration dates, and restrictions to control how coupons behave. Discounts can drive conversions, attract new customers, and encourage repeat purchases.
Extending Functionality with Plugins and Extensions
One of the greatest advantages of WooCommerce is that you can expand its features using plugins and extensions. WooCommerce provides a marketplace filled with tools that allow you to add subscriptions, bookings, advanced payment options, dynamic pricing, product bundles, and more. You can also enhance marketing capabilities with email automation, abandoned cart recovery, and advanced analytics.
There are also essential WordPress plugins that many online stores install. An SEO plugin helps you optimize your product titles and descriptions for search engines. A form builder lets you create custom contact forms or customer surveys. A caching or speed optimization plugin helps improve load times. Security plugins provide additional protection, though hosting providers like N6Cloud already handle many essential security layers at the server level.
Before installing any plugin, consider whether it truly benefits your store. Too many unnecessary plugins can slow down your site or cause compatibility issues. It is better to choose a few high-quality plugins that solve specific needs.
Final Launch Checklist
Before making your store public, it is essential to run a full system check. A quick review ensures your customers have a smooth, reliable shopping experience. Begin by placing a test order. This helps you confirm that payments are working, shipping charges are calculated correctly, and the checkout page has no errors. Review the customer email notifications to make sure they are clear and professional.
Next, check your website on a mobile device. Many customers shop on their phones, so your store must look good on smaller screens. Make sure the menu works, product images display correctly, and buttons are easy to tap.
Another important step is enabling caching and CDN features to improve speed. If you are using LiteSpeed Cache on N6Cloud hosting, allow the recommended settings and link your site to a CDN for faster global delivery. A CDN stores your images and other static content on servers around the world, so pages load faster no matter where your customers live.
Review your store’s legal information before launch. This includes privacy policies, return policies, and shipping information. Customers often check these pages before buying, so having them ready helps build trust.
Once everything looks good, you can disable any maintenance or coming-soon mode and officially open your store to the public. From here, your focus will shift to promoting your products, improving your marketing, and enhancing your site as your business grows.
Conclusion
Building an online store can feel overwhelming at first, but WooCommerce makes the process accessible to anyone willing to take it step by step. Once your hosting, domain, and WordPress installation are in place, the remaining setup follows a natural flow. You configure your store details, add your products, choose your payment methods, define your shipping rules, and prepare your website for real customers. WooCommerce gives you control, flexibility, and room to grow, whether you want to sell a few items or manage an extensive catalogue with thousands of products.
Success with WooCommerce comes from combining the right tools with the proper foundation. Fast and reliable hosting creates a smooth shopping experience, strong product descriptions help visitors understand what you offer, and a clean design helps your store build trust from the moment someone lands on your homepage. With the proper setup, your store can run efficiently, allowing you to focus on your customers and products.
Once your site is ready, the following steps involve improving your content, monitoring performance, and gradually expanding your store’s features. WooCommerce grows with you, allowing you to add new payment methods, introduce marketing tools, track customer behaviour, and keep your store up to date over time.
You now have everything you need to launch a fully functional online store and take your first orders. Whether you are starting a small business or building a large commercial brand, WooCommerce provides a strong and flexible platform to support your goals.
Frequently Asked Questions (FAQ)
Yes. WooCommerce is an open-source plugin and completely free to install on any WordPress website. You can build a full online store without paying for the core software. The main costs of running a WooCommerce store include your domain name, hosting plan, payment processing fees, and any optional premium extensions you choose to add.
WooCommerce is designed for beginners, and the built-in Setup Wizard makes the process much easier. You install the plugin, follow the guided steps to enter your store details, and configure payments and shipping. Most users can complete their initial store setup in less than an hour. More advanced features can be added gradually as your business grows.
Yes. WooCommerce is highly scalable and can support large catalogues with thousands of products. The key requirement is optimized, reliable hosting that can handle higher database activity and increased traffic. Managed WordPress environments with LiteSpeed, Redis, and strong PHP optimization are ideal for larger stores.
To run a fully functional store, you need a domain name, a hosting plan, and an SSL certificate. Most of the remaining features, such as product categories, shipping zones, and payment gateways, are included in WooCommerce. Optional extensions can add subscriptions, bookings, advanced shipping rules, and marketing tools when your store needs them.
Yes. WooCommerce is built on WordPress, which is the most widely used blogging platform in the world. You can create a blog to showcase product announcements, guides, promotions, or updates. Blogging can also help boost your search rankings and drive organic traffic to your store.
WooCommerce stores handle more activity than regular websites, including cart sessions, product filtering, database queries, and checkout processing. Optimized hosting delivers faster speeds, more stable performance, and enhanced security. Technologies like LiteSpeed, Redis caching, and optimized PHP settings help your store load quickly and stay responsive during traffic spikes. These improvements lead to higher conversion rates and a better customer experience.
