Setting up a VPS doesn’t have to be complicated. Whether you choose a Cloud VPS, Managed VPS, or Unmanaged VPS, the goal is to create a stable and secure environment for your applications, websites, or online services. Your VPS server setup gives you full control over your resources, allowing you to install software, manage databases, and scale as your project grows.
However, not every VPS requires a domain name or DNS configuration. If you’re using your VPS for internal development, file storage, or API hosting, you can simply access it via its IP address. But if you plan to host a public-facing website or service under your own brand, such as www.yourdomain.com or a custom email system, you’ll need to register a domain and configure its DNS to point to your VPS.
The good news is that these steps are much easier than they sound. Modern hosting dashboards and registrars make it simple to register a domain, create DNS records, and even connect child hostnames if you want to use your VPS as your own nameserver.
In this guide, you’ll learn how to register your domain, configure DNS records, and connect everything seamlessly to your VPS. By the end, you’ll have a working setup that looks professional, loads reliably, and gives you complete control over your online identity.
Registering a Domain for Your VPS
Before your VPS can host a website or online service, it needs a domain name — the address people will type to reach your site. A domain not only makes your website look professional but also builds trust with your visitors and improves search visibility.
Registering a domain is a simple process, and most providers make it quick to complete. The key is choosing a name that’s short, memorable, and relevant to your brand or project. If your preferred name isn’t available, many registrars suggest alternative extensions such as .ca, .com, or .net, which can still help you maintain a recognizable online identity.
When registering a domain, you can do so through popular registrars or directly through hosting providers that also offer domain registration. The registration process usually takes only a few minutes:
- Search for your desired domain name using the registrar’s search bar.
- Select an available name and choose your preferred extension.
- Provide your contact details (required for domain ownership records).
- Complete payment to register your domain for one or more years.
Once the registration is complete, you’ll gain access to your registrar’s control panel, where you can manage your domain’s settings, DNS records, and nameservers.
It’s important to note that domain registration and DNS configuration are separate steps. Registering your domain only reserves the name, but it does not automatically link it to your VPS. To make your website accessible, you still need to connect the domain to your VPS IP address, which is explained in detail below.
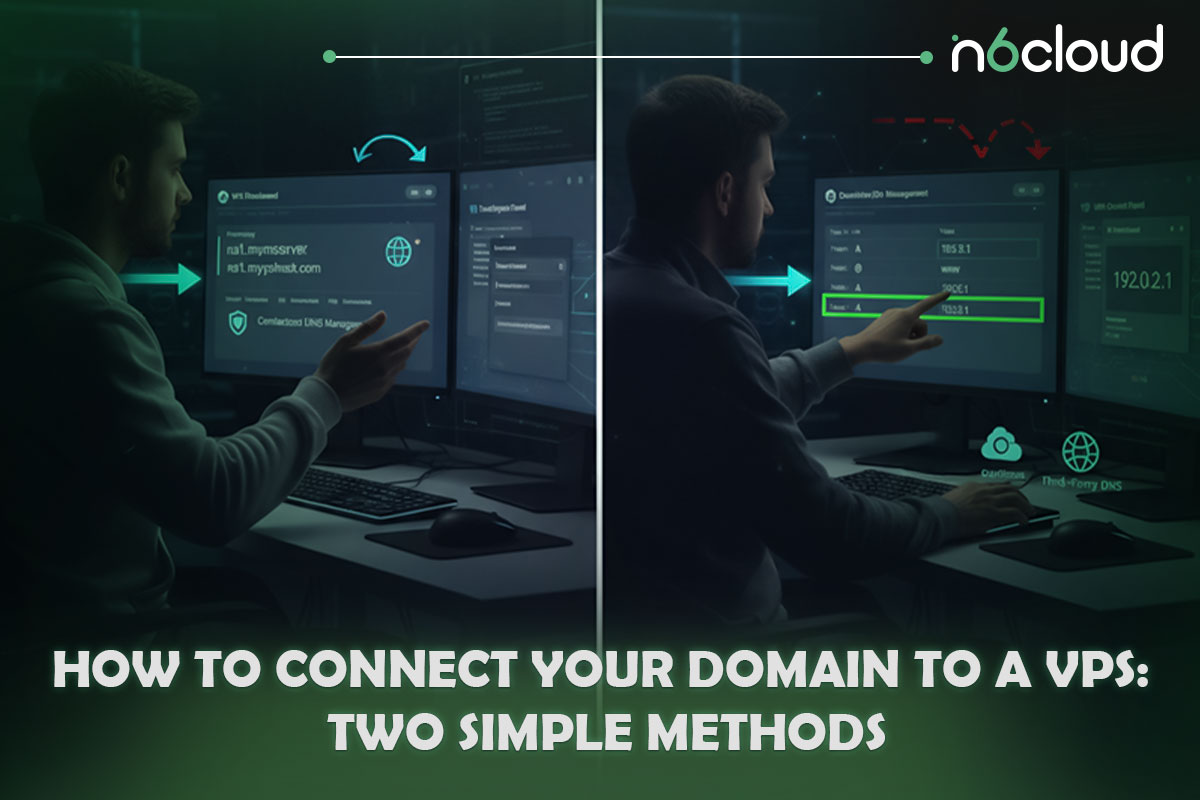
How to Connect Your Domain to a VPS: Two Simple Methods
Once your VPS server setup is complete, the next step to making your website or service accessible online is to connect it to a domain name. This process tells the internet where to find your VPS when someone types your web address into a browser.
There are two main ways to link your domain to your VPS, depending on how much control and customization you want.
1. Using Child Hostnames (Custom DNS on Your VPS)
This method is ideal for users who want full control over DNS and prefer to host their own nameservers directly on the VPS. It is commonly used by developers, agencies, and hosting providers that manage multiple domains and want a branded, professional setup.
To make this work, you must create child hostnames, also known as glue records, at your domain registrar. These connect your custom nameservers, such as ns1.yourdomain.com and ns2.yourdomain.com, to your VPS IP addresses. Without glue records, your nameservers cannot resolve your domain correctly.
Follow these steps to register and activate child hostnames:
- Log in to your domain registrar’s control panel.
Open the domain management section where advanced DNS or host settings are available. - Locate the section for creating child hostnames or custom nameservers.
Depending on your registrar, it might appear as Host Names, Glue Records, or Register Nameserver. - Create and register your child’s hostnames.
Add custom nameservers, such as ns1.yourdomain.com and ns2.yourdomain.com, and assign each to your VPS IP address.
- If you have multiple IPs, use different ones for redundancy.
- If only one IP address is available, assign it to both.
Save the changes. Your registrar will associate these hostnames with your domain, and propagation may take several hours.
- Set your domain’s active nameservers to your new ones.
In your registrar’s main domain settings, change the domain’s nameservers to the custom ones you created (ns1.yourdomain.com and ns2.yourdomain.com). This step ensures that your domain now points to your VPS for DNS resolution.
Once this setup is complete, your VPS becomes the authoritative DNS source for your domain. You can manage all DNS zones, subdomains, and records directly on your VPS. This configuration provides flexibility and independence from external DNS providers but requires a bit more technical knowledge.
2. Using a Third-Party DNS Service
If you prefer a simpler and more hands-off approach, you can use your registrar’s built-in DNS panel or a hosted DNS provider instead of running a DNS server on your VPS. This option is ideal for most users who want to connect a domain quickly without managing DNS software.
With this method, you do not need to register child hostnames or configure DNS tools inside your VPS. Instead, your domain’s DNS zone is managed externally. Services such as Cloudflare, Google DNS, or your hosting provider’s control panel allow you to create and manage records like A, AAAA, CNAME, MX, and TXT from an easy-to-use interface. These records tell the internet where your VPS is located and how to route web and email traffic to it.
If you use an external DNS service, you may need to update your domain’s active nameservers at your registrar to the ones provided by that service. After the change is saved and propagated, your domain will point to your VPS correctly.
This approach offers a simple, low-maintenance way to connect your domain to your Cloud VPS, Managed VPS, or Unmanaged VPS, making it the preferred choice for most users who value reliability and ease of setup.
Configuring DNS on Your VPS
After linking your domain to your VPS, the next step is configuring the DNS service so visitors can reach your website. DNS acts like the internet’s phonebook, translating your domain name into the IP address of your server.
The configuration process depends on whether you are managing DNS on your VPS or using a third-party DNS provider. In both cases, the goal is the same: to direct web traffic to your VPS and ensure that emails, subdomains, and other services are correctly routed.
If You Manage DNS on Your VPS
If you’ve decided to handle DNS directly on your VPS, you need a DNS service running on it. You can install a package such as BIND, PowerDNS, or another DNS server software, depending on your operating system.
If you use a web hosting control panel like cPanel, DirectAdmin, or Plesk, this service is typically installed automatically, and you can manage DNS zones from within the panel’s graphical interface.
Once the DNS service is active, you’ll need to create a DNS zone for your domain. Inside that zone, add the records that define how your domain operates:
- A record: Points your domain (for example, yourdomain.com) to your VPS’s IPv4 address.
- AAAA record: Maps your domain to your VPS’s IPv6 address (optional if you only use IPv4).
- CNAME record: Redirects one domain or subdomain to another, such as directing www.yourdomain.com to yourdomain.com.
- MX record: Directs email to the correct mail server, which can be hosted on the same VPS or externally.
- TXT record: Stores additional information such as verification codes or SPF/DKIM settings for email authentication.
After adding these records, save your DNS zone. Changes made in your VPS’s DNS server will take effect once global DNS servers refresh their caches, which typically takes several hours.
If You Use a Third-Party DNS Provider
If your DNS is hosted externally, you can access a web-based interface to add or edit records. The necessary records include A, CNAME, MX, and TXT records, but instead of configuring them within your VPS, you manage them through your provider’s dashboard.
To make sure your domain uses those settings, confirm that your domain’s active nameservers match the ones provided by your external DNS service. Once the records are saved and propagated, your website will resolve directly to your VPS IP address.

Verifying and Troubleshooting DNS Setup
Once your DNS records are set up, it’s crucial to verify that everything functions correctly before launching your website or email services. DNS propagation may take anywhere from a few minutes to several hours, depending on your registrar and caching settings, so testing your configuration ensures your domain resolves properly to your VPS.
How to Verify Your DNS Setup
To confirm that your domain points to your VPS, you can use command-line tools or online testing platforms:
Using the terminal:
On Windows, macOS, or Linux, you can use commands like: