As your online business grows, so do its hosting requirements. For many, the shared hosting plan that worked at the beginning starts to struggle with increased traffic, performance needs, and security concerns. If you’re experiencing such issues, it might be time to consider an upgrade. In this article, we’ll explore the key reasons why upgrading to a VPS (Virtual Private Server) could be the best decision for your website. What We’ll Cover:
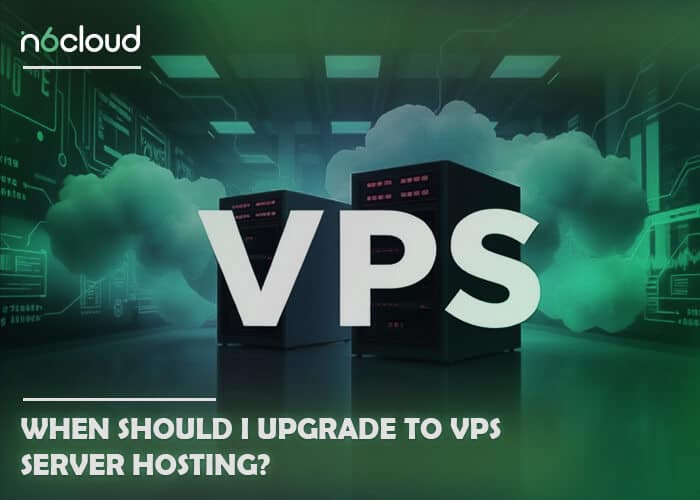
When Should I Upgrade to VPS Hosting?
Upgrading to VPS hosting is a significant step for websites that have outgrown the limitations of shared hosting but are not quite ready for a dedicated server. Recognizing when to make this move is crucial for maintaining optimal performance, security, and scalability. If your website is experiencing high traffic that your current shared hosting plan cannot handle, it may be time to consider VPS hosting. Shared hosting comes with limited resources since multiple websites share the same server, leading to slow load times or downtime during traffic surges. VPS hosting, on the other hand, provides dedicated resources, allowing your website to handle higher traffic levels efficiently. Additionally, if your website is running slowly or experiencing frequent lag, it could be an indicator that your current hosting environment is no longer sufficient. VPS hosting offers more CPU, RAM, and bandwidth, leading to improved load times and better overall performance, which is essential for e-commerce sites, high-traffic blogs, and content-heavy platforms.
Security concerns are another compelling reason to upgrade to VPS. Websites that handle sensitive information, such as customer data and payment details, need enhanced security measures. Shared hosting environments are more vulnerable to risks, as they share resources among multiple sites. VPS hosting offers features like isolated environments, dedicated IP addresses, and the ability to install advanced security tools, making it ideal for businesses requiring PCI compliance or those worried about data breaches and cyberattacks. Control and customization also play a role; shared hosting plans often limit customization, which can be an issue if you need specific software installations or server configurations. With VPS, you gain root access, allowing for more flexibility and tailored solutions that match your specific needs.
Frequent downtime and resource limitations in shared hosting can lead to your site going offline or loading slowly, especially when other sites on the same server consume high amounts of CPU or RAM. VPS hosting addresses these issues by providing dedicated resources, ensuring better uptime and reliability. As your website grows in terms of traffic, content, or features, VPS hosting’s scalable solutions allow you to upgrade resources as needed without complicated migrations. This scalability is crucial for long-term stability. Furthermore, if you run resource-intensive applications like large databases or e-commerce platforms, shared hosting may not have the necessary processing power. VPS offers robust hardware and the ability to customize the server environment for efficient operation. Finally, VPS hosting serves as a budget-friendly middle ground between shared and dedicated hosting, offering significant performance benefits at a more manageable cost, making it an ideal choice for websites transitioning to the next level of growth.
Upgrading your VPS (Virtual Private Server) is essential for maintaining optimal performance, security, and resource allocation as your website grows. Here’s a comprehensive guide on how to upgrade your VPS effectively
How to Upgrade Your VPS
As your website grows, transitioning from shared hosting to a Virtual Private Server (VPS) can provide the resources and flexibility you need. Here’s a step-by-step guide to help you smoothly upgrade to VPS hosting:
Step 1: Assess Your Needs
Before moving to a VPS, analyze your current hosting environment and identify areas where additional resources are required. For example, if your site is experiencing frequent slowdowns, downtime, or you’re nearing the limits of your shared hosting plan (e.g., CPU, RAM, or bandwidth), a VPS hosting is likely the next logical step. Consider your website’s traffic patterns, the type of applications you run, and future scalability needs.
Step 2: Choose the Right VPS Plan
When selecting a VPS, it’s essential to match the plan to your specific requirements. Evaluate factors such as:
- CPU and RAM: Determine the computational power and memory your site needs based on its traffic and resource demands.
- Storage: Choose between SSD and HDD storage, keeping in mind the volume of files and databases your website will require.
- Bandwidth: Opt for sufficient bandwidth to handle your website’s traffic without interruptions.
- Managed vs. Unmanaged: Decide whether you want a fully managed VPS (where the hosting provider handles technical tasks) or an unmanaged one (where you have full control but are responsible for management).
Step 3: Set Up the VPS Environment
After purchasing your VPS plan, the next step is to configure your server environment. This typically involves:
- Operating System Selection: Choose between Linux or Windows based on your website’s software requirements.
- Control Panel Installation: Install a control panel like cPanel, Plesk, or DirectAdmin to simplify server management, especially if you’re not experienced with command-line operations.
- Software Setup: Install essential applications, such as a web server (Apache, Nginx, or LiteSpeed), database management systems (MySQL, PostgreSQL), and any other tools your website relies on.
Step 4: Migrate Your Website to the VPS
Once your VPS is configured, it’s time to transfer your website from shared hosting. Follow these steps:
- Backup Your Website: Create a full backup of your website, including files and databases, to avoid data loss during the migration process.
- Transfer Files: Use an FTP client or your hosting provider’s migration tools to upload your files to the VPS.
- Migrate Databases: Export your databases from the shared host and import them into the VPS using tools like phpMyAdmin or the command line. With N6 Cloud, you can expect a smooth and hassle-free migration process.
- Update DNS Settings: Update your domain’s DNS records to point to the new VPS IP address. This process may take a few hours to propagate fully.
Step 5: Test Your Website on the VPS
Before making the VPS live, thoroughly test your website to ensure everything is functioning correctly. Check for broken links, database connectivity issues, and performance improvements.
Step 6: Optimize and Secure Your VPS
To ensure smooth operation and security:
- Enable Firewall Protection: Configure a firewall to block unauthorized access.
- Install SSL Certificates: Protect data transmission by setting up SSL for your website.
- Monitor Performance: Use tools like top, htop, or a monitoring dashboard to keep track of resource usage and ensure the VPS is performing as expected.
Step 7: Seek Support if Necessary
If you encounter any challenges during the migration or setup process, don’t hesitate to reach out to your hosting provider’s support team. They can provide valuable guidance and troubleshooting assistance.
By following these steps, you’ll ensure a seamless transition from shared hosting to VPS, providing your website with enhanced performance, security, and scalability.

Conclusion
In conclusion, transitioning to VPS server hosting is a pivotal step for any online business poised for growth. As your website encounters increased traffic, performance demands, and security concerns, shared hosting may no longer suffice. By upgrading to VPS, you gain dedicated resources that enhance your website’s speed, reliability, and security. This upgrade allows for greater control over your server environment and the ability to scale resources efficiently as your business evolves. Therefore, assessing your current hosting needs and recognizing the signs that it’s time for an upgrade is essential for maintaining an exceptional user experience and supporting your online success. Make the leap to VPS hosting and empower your website to thrive in a competitive digital landscape.